From the incapacity to type text right away to the non-obvious commands for writing and quitting, our first contact with Vim is always frustrating.
Most of us bail out and learn to mentally replace vi and vim with nano in every tutorial they read.
Others learn the bare minimum to make those occasional edits as painless as possible, confident in their knowledge that there are vastly better editors for serious work anyway.
Yet some are lucky/crazy enough to see the potential behind the weirdness and decide to do what it takes to become more efficient with Vim.
This guide is directed toward that third group. Picking up where vimtutor left off, it will hopefully give your Vim experience the right kind of foundations: deep and dependable.
Vim does a lot and thus requires quite a bit of learning as well as a significant amount of will and patience. In that respect, it isn’t worse than Adobe Photoshop, or any serious 3D modeling software, font editor or digital audio workstation: you can quickly learn the basics needed for performing simple tasks but you can’t honestly put “ProTools” on your resumé after a tutorial or two. It takes years to master those tools and it will take years to master Vim.
But what kind of involvement are we talking about? Is it the kind that requires us to commit all of that meaningless garbage to memory?
No. I don’t believe “knowing all of Vim” or “being a Vim guru” should be anyone’s goal. Those may be happy consequences of using Vim daily for 10 or 20 years, maybe, but we shouldn’t focus too much on that target. Learning Vim is a long journey where the destination doesn’t really matter. What happens along the way and the positive changes it causes in us are all that counts.
You are playing in your own Tolkien trilogy, goddammit!
Before we begin
This guide assumes three things:
-
that you are relatively comfortable with “the Unix shell”, our primary environment for the whole guide;
-
that you have already followed
vimtutorat least a couple of times; -
that you have access to a reasonably up-to-date Vim build.
“The Unix shell” is a large and fascinating subject in its own right and I simply don’t know enough about it anyway so… no “patient sheller” for you and no explanation of shell things.
This guide is very likely to gloss over very important things found in vimtutor so going through it is an absolute requisite if you intend to ever be comfortable in Vim. Or if you intend to follow this guide.
Most of what makes Vim Vim can be found even in the smallest build but the default Vim on your system—if you have one—is usually a very small one that lacks useful features for serious usage.
The first step in our journey will thus be to upgrade Vim to a more up-to-date and full-featured build or, if you don’t already have it on your machine, install it cleanly. How to do that depends on your platform…
Installation on Linux/BSD
On Linux/BSD systems, the trick is generally to install the more featured “gvim” package, which usually gives you both a vim command for terminal usage and a gvim command for GUI usage.
The recipes below are relatively safe but they obviously don’t cover every Linux/BSD flavor. If in doubt, check your distribution’s documentation.
Arch
$ sudo pacman -Sy
$ sudo pacman -R vim
$ sudo pacman -S gvim
Debian
$ sudo apt-get update
$ sudo apt-get install vim-gnome
Gentoo
$ sudo emerge --sync
$ sudo emerge app-editors/gvim
RedHat
$ sudo yum check-update
$ sudo yum install vim-X11
Slackware
$ sudo slackpkg update
$ sudo slackpkg install-new vim-gvim
OpenBSD
$ sudo pkg_add vim-x11
FreeBSD
$ sudo pkg install editors/vim
Installation on Mac OS X
MacVim, the most complete Vim you can get on Mac OS X, comes with both a GUI version and a CLI version. All the methods below should give you a regular “double-clickable” Mac OS X app and an mvim command you can run in a terminal emulator without messing with the default Vim:
$ mvim        " opens a new GUI MacVim instance
$ mvim -v     " opens a new CLI MacVim instance
Regular install
-
Download and install an official snapshot like you would with any other Mac OS X application.
-
Place the
mvimscript that comes bundled with MacVim somewhere in your$PATH.
Package manager
-
MacPorts:
$ sudo port selfupdate
$ sudo port install macvim
-
Homebrew:
$ brew install macvim
Installation on Windows
There is no Vim on your system by default so you are forced to install it anyway. The default download from vim.org is OK but slightly outdated. You can get more up-to-date and complete builds from this project:
The mother of all commands
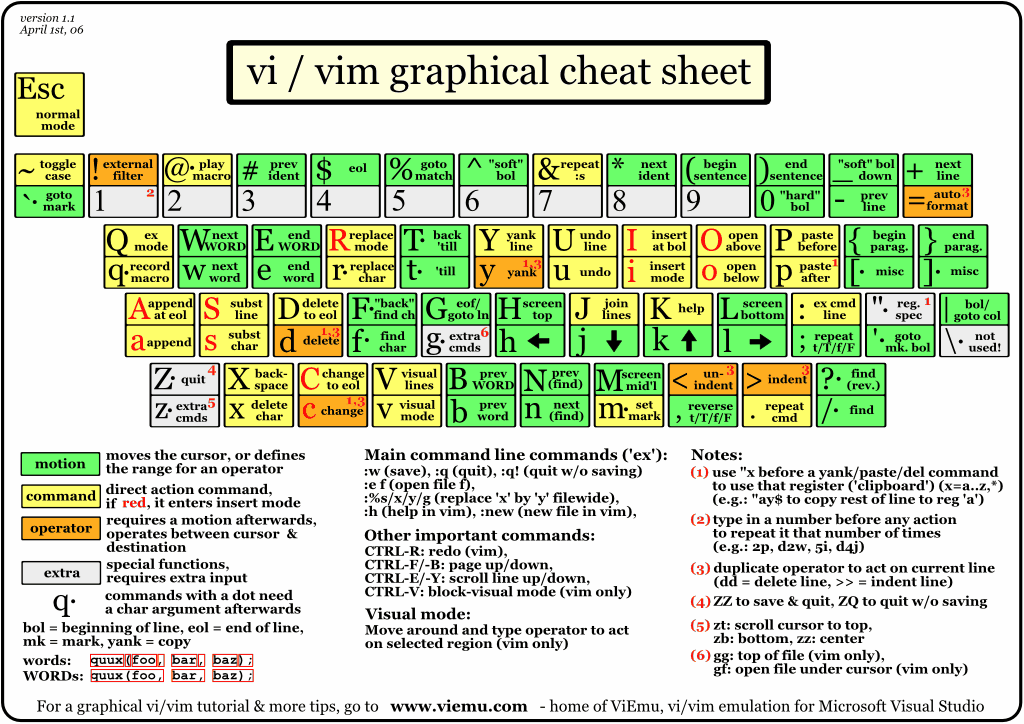
Every complex piece of software comes with an extensive documentation and Vim is no stranger to that rule. Learning how to use that documentation is the first and most important step on your way to “editing at the speed of thought” or “becoming a Vim ninja” or making your editor look like a Christmas tree in Las Vegas.
Learning how to use the documentation makes you self-reliant. With self-reliance comes confidence and with confidence comes efficiency.
So, without further ado, let me introduce you to Vim’s amazing…
:help
The introduction is short, factual and chock-full of important information; let me print the most useful parts here:
Jump to a subject:
    Position the cursor on a tag (e.g. |bars|) and hit CTRL-].

With the mouse:
    ":set mouse=a" to enable the mouse (in xterm or GUI).
    Double-click the left mouse button on a tag, e.g. |bars|.

Jump back:
    Type CTRL-T or CTRL-O (repeat to go further back).

Get specific help:
    It is possible to go directly to whatever you want help
    on, by giving an argument to the :help command.
    It is possible to further specify the context:

        WHAT                 PREPEND     EXAMPLE
    Normal mode command     (nothing)    :help x
    Visual mode command        v_        :help v_u
    Insert mode command        i_        :help i_<Esc>
    Command-line command       :         :help :quit
    Command-line editing       c_        :help c_<Del>
    Vim command argument       -         :help -r
    Option                     '         :help 'textwidth'

Search for help:
    Type ":help word", then hit CTRL-D to see matching
    help entries for "word".
    Or use ":helpgrep word".
That’s it! You are now capable of searching Vim’s documentation for anything and ready to explore a few interesting areas. Again, the focus of this guide is not on rote learning. Skim these sections, get a feel for how they are organized, the vocabulary, the extent of Vim’s features… but don’t force everything into your brain; there’s absolutely no point doing that.
-
Keys
:help key-notation
-
Normal mode commands
:help normal-index
-
Visual mode commands
:help visual-index
-
Insert mode commands
:help insert-index
-
Ex commands
:help ex-cmd-index
-
Various points of interest
:help navigation
:help quickref
:help vim-modes
Making Vim more friendly
As is, even a “huge” build with plenty of developer-friendly features is still the frustratingly alien editor we are used to.
What’s happening here is that Vim is just being humble and professional. Its role is to act as a stand-in for old vi and it tries its best to look and behave like its model… to the point of being as obnoxious as the original.
Or more, if we consider all the improvements hidden behind that impenetrable vi persona.
Like many other command-line programs, Vim depends on a number of configuration files and scripts to work its magic. Those files constitute Vim’s “runtime” and are generaly not to be messed with. Halas, distribution maintainers like to edit them or move them around. This means that Vim’s “runtime” can be in many places and that Vim’s system-wide startup script—if there is one—may or may not already contain solutions to some of the problems below. Now, Vim 8.0 even comes with a script that attempts to provide a “reasonable” baseline but only manages to make things more complicated. For those reasons, it is hard to even talk about a “default” setup so, in order to keep this guide simple and generic, I’ll just do like if none of that mattered. Because, well… it doesn’t.
Whatever, making Vim a little bit more comfortable is a quick and easy exercise that will give us many opportunities to learn useful things: let’s do it step by step, one problem at a time.
Problem 0—Vi compatibility
The closest we have to a definitive list of vi-compatible behaviors can be found at :help 'cpoptions'. A quick glance at that table should be enough to understand the importance of dropping vi-compatibility for intensive use.
The 'compatible' option being enabled by default, Vim always starts in what we will call “compatible mode” and never comes back to its senses unless instructed to do so. There are three ways to disable “compatible mode”:
The first way consists of typing this command:
:set nocompatible
every time we start Vim to set 'cpoptions' and many other options to their “Vim” value.
|
Note
|
compatible is a boolean option enabled with :set compatible and disabled with :set nocompatible. Every boolean option in Vim follows the same pattern.
|
The second way consists of using a command-line flag to tell Vim to start in “nocompatible mode”:
$ vim -N
|
Note
|
Again, like most CLI programs, Vim tells you what flags can be used to change its behavior at startup when started with the --help argument. Go on, it’s an interesting read.
|
The two solutions above may be OK for infrequent, quick, sessions but we are trying to use Vim as our main editor so they rather obviously don’t scale. Let’s see a third way: creating our very own vimrc.
Vim’s user-level configuration file is called .vimrc on Unix-like systems and _vimrc on Windows. During the startup procedure, Vim looks for that file in a couple of standard locations and, as soon as it is found, disables the 'compatible' option, just like if you typed :set nocompatible.
We will simply create that file in order to never have to type that command again.
In addition to forcing Vim to start in “nocompatible mode”, creating an empty vimrc will serve another important purpose: holding all our future mappings and settings.
Solution
Unix-like systems     Windows

$ cd                  C:cd %userprofile%
$ vim .vimrc          C:vim _vimrc
Reference
:help 'compatible'
:help 'cpoptions'
:help startup
:help vimrc-intro
|
Note
|
The very existence of that file makes adding set nocompatible to our vimrc generally useless so… don’t put that at the top of your vimrc like many sample vimrcs and blog posts tell you to do. Now, an explicit set nocompatible can have interesting effects in some situations but they are honestly too rare to care.
|
Problem 1—Backspace
So you may or may not have noticed that the backspace key doesn’t really work as expected in vanilla Vim. To be honest, I’m not sure how it works makes sense at all but this can be changed easily with the 'backspace' option.
Solution
Add this line to your newly created vimrc:
set backspace=indent,eol,start
write the file to disk:
:write
and source it with:
:source %
|
Note
|
When used as an argument for an Ex command (that’s how we call command starting with :), % is replaced before execution by the current file name so, in this example, :source % is exactly the same as :source ~/.vimrc, except a lot shorter and generic. That will certainly come in handy!
|
Reference
:help 'backspace'
:help :write
:help :source
:help c_%
Problem 2—Automatic indentation
Next comes automatic indentation. This one is more of a comfort thing but how are we supposed to be efficient at text editing if we have to to adjust the indent of every new line manually?
It turns out Vim has a bunch of automatic indentation mechanisms, but none of those are enabled by default. The most basic, 'autoindent', doesn’t try to be too smart and that’s all we need for now.
Solution
Add this line to your vimrc:
set autoindent
write the file to disk:
:w
and source it with:
:so %
|
Note
|
Most Ex commands and options can be shortened to a couple of letters. This undoubtedly makes things easier to type! In configuration files and scripts, though, the short form can be hard to read and doesn’t provide any benefit over the long form so don’t use it; your future self will thank you. |
Reference
:help 'autoindent'
Problem 3—Working with multiple files
Vim will refuse to edit another file when there are unsaved changes in the current buffer, leaving us with a Cornelian dilemma: write that buffer or abandon our changes.
Thanks for watching our back, Vim, but that feature can really slow us down! Luckily, we have a 'hidden' option for that (pun intended).
Solution
Add this line to your vimrc:
set hidden
and do the :write/:source dance again, but in one go this time:
:w|so %
|
Note
|
In Vim’s command-line, the vertical bar allows us to chain Ex commands. While it looks the same, the “bar” is not the equivalent of a Unix “pipe”, if only because no data is sent from one command to the next. It is more akin to “;” in C. |
Reference
:help 'hidden'
:help :bar
Problem 4—Syntax highlighting
Syntax highlighting is a staple of programming. It helps readability, eye-comfort, bug-fixing… and it’s pretty. Well, it can be pretty.
Vim does syntax highlighting, of course, but the feature isn’t enabled by default because vi didn’t have it. Thankfully, Vim is Vi improved so it’s easy to turn on.
Solution
Add this line to your vimrc:
syntax on
and… type : then press the <Up> key to recall the latest Ex command.
|
Note
|
Vim remembers 20 commands by default so I know someone who will fall in love with his/her <Up> key…
|
Reference
:help :syntax-on
:help history
Problem 5—Line numbers
Line numbering is another feature people are attached to and it’s very easy to enable.
Solution
Add this line to your vimrc:
set number
Reference
:help 'number'
Problem 6—Huge tabs
Vim follows the de-facto standard width of 8 characters but we, programmers, need our 4 or 2 character-wide indentation, don’t we? :help 'tabstop' does a good job of explaining what strategy to adopt when dealing with tabulation. The strategy I recommend is to leave 'tabstop' at its default value and only adjust 'shiftwidth' and 'softtabstop'.
Solution
Add these lines to your vimrc, using the value you want:
set shiftwidth=4
let &softtabstop = &shiftwidth
and, if you need spaces instead of tabs:
set expandtab
|
Note
|
There are two ways to “set” an option in Vim. The :set command is the simplest and most restrictive but we can also use :let which allows us to use an expression on the right hand side of the operator. Here, we reuse the value of 'shiftwidth' for 'softtabstop'.
|
Reference
:help 'tabstop'
:help 'shiftwidth'
:help 'softtabstop'
:help 'expandtab'
:help :let-&
Conclusion
Our short vimrc already gives us most of the comfort we sorely missed each time we had to use Vim to edit those configuration files.
This quick exercise helped us learn:
-
how to use Vim’s online documentation,
-
how to recall command history,
-
how to chain commands together,
-
how to reference the current file on the command-line,
-
how to reference and set options in expressions,
-
that we can shorten commands and options.
And we have a recent and full-featured Vim…
I would say we are doing good, here.
Written by Romain Lafourcade, with help from Barry Arthur and the #vim community.
Copyleft 2015